Raspberry Pi Console Server (Out-of-Band Management)

At work we have a few generations of OOB (Out-of-Band) solutions for access to configure and troubleshoot network devices. The first generation includes traditional Cisco 2500 routers setup with reverse telnet giving you Console access via telnet, and dial in only devices where you dial in via a modem or ras server to then connect to a device via Console. The next generation devices allow you to SSH to the console server In-Band or failing that dial-in OOB like the previous generation. The latest generation functions the same as the previous generation with In-Band SSH and OOB dial in, but the devices support other features like cellular SIM cards. We just haven’t taken advantaged of that yet.
These solutions worked well when I started working with them, but as the industry moved away from traditional telephony circuits/trunks (T1/ DS3 / OC-48 etc) to native Ethernet circuits it was only a matter of time before the telephony trunks were moved to run over Ethernet as well. Year after year our previous OOB dial-in trunks were moved to be in band SIP trunks over our Ethernet backhaul circuits. This meant that we would enter maintenance windows only to find we no longer had OOB access to the equipment and have increasingly had to rely on dispatching a technician to be our eyes and ears on the ground.
At the same time, we only had OOB solutions deployed in a limited number of enterprise offices. This has meant that anytime we needed to do maintenance work or troubleshoot with the network down, we needed to have a tech dispatched to again be our eyes and ears. With 4G and 5G cellular covering most everywhere these days I have generally been able to have the technicians connect their laptops to a Cellular Hotspot and share their screen and give me control. This works…but often requires more data than is available (making the screen share freeze or update very slowly), copy/paste and tab don’t work, and ties up the tech for the duration of the work which can sometimes be all day or night.
With the above limitations in mind I set about finding a cheap OOB management solution to use at small offices with the thought that whatever I landed on could possibly be scaled up or adapted to be used at larger sites. My first step was pulling some old gear our of a drawer. A Raspberry Pi 3B and a couple USB to Serial converters came to mind as I have good luck using screen on Linux and on my MacBook (with the help of MacPorts). This initial test worked great. SSH to Raspberry Pi then open Console session with screen. The next step was setting up the Pi as a reverse telnet server with Ser2Net. That let me telnet to the Pi’s IP and whatever port I mapped to the USB to Serial adapter.
With that initial proof of concept working, I ordered the following:
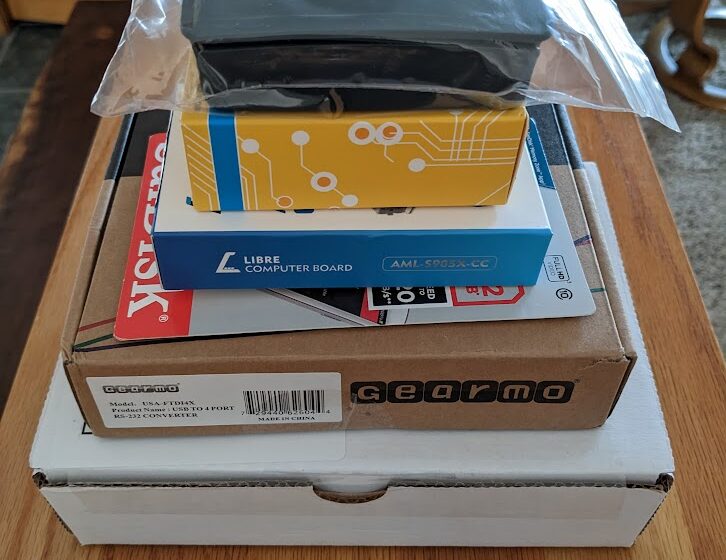
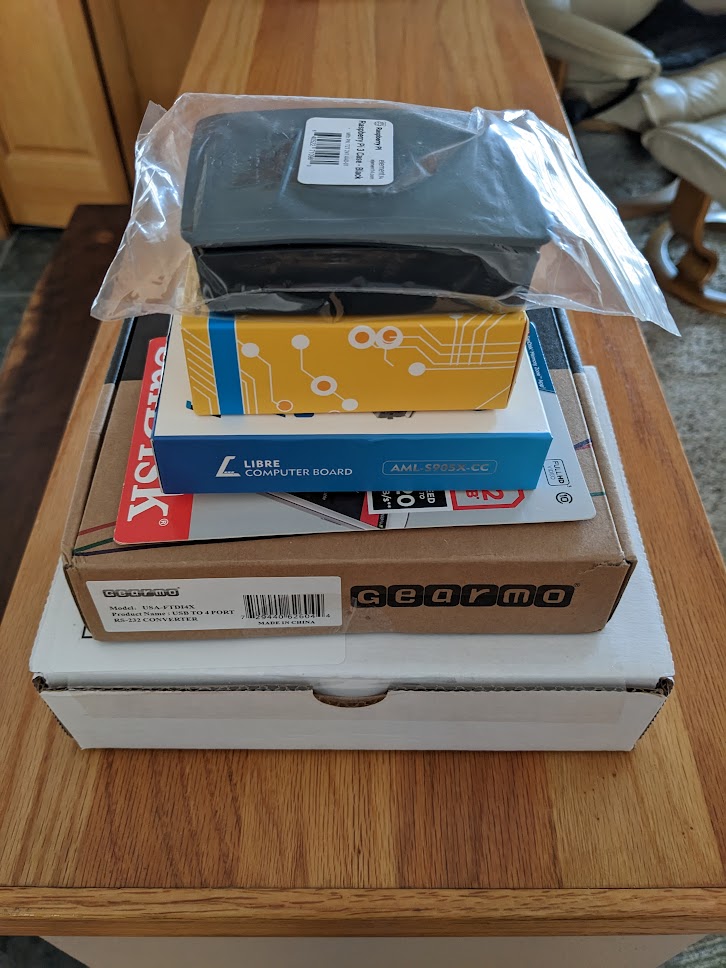
- Libre Le Potato (Raspberry Pi 3B Equivalent since Raspberry Pis are hard to find right now)
- Raspberry Pi 3 Case
- Power Supply (They run off 5V USB but need stable power to run USB to serial adapters)
- 32GB microSD (To Install Raspberry PI OS on)
- 4 port USB to serial adapter (To ensure devices are always mapped correctly upon reboot vs individual adapters)
- 4x 6ft rollover cables (classic light blue console cables to plug into the above adapter)

After installing Raspberry Pi OS, and updating packages I installed Screen and Ser2Net:
rwilson@LODIWIoba02:~ $ sudo apt install screen ser2net
Next I plugged in in the 4 Port USB to Serial adapter and verified it installed via dmsg:
rwilson@LODIWIoba02:~ $ dmesg
[Output Truncated]
FTDI USB Serial Device converter detected
Detected FT4232H
FTDI USB Serial Device converter now attached to ttyUSB0
FTDI USB Serial Device converter detected
Detected FT4232H
FTDI USB Serial Device converter now attached to ttyUSB1
FTDI USB Serial Device converter detected
Detected FT4232H
FTDI USB Serial Device converter now attached to ttyUSB2
FTDI USB Serial Device converter detected
Detected FT4232H
FTDI USB Serial Device converter now attached to ttyUSB3
The next step is configuring Ser2net.
The config (/etc/ser2net.yaml) looks like this:
connection: &con000
accepter: telnet(rfc2217),tcp,3000
enable: on
options:
banner: *banner
kickolduser: true
telnet-brk-on-sync: true
connector: serialdev,
/dev/ttyUSB0,
9600n81,local
connection: &con001
accepter: telnet(rfc2217),tcp,3001
enable: on
options:
banner: *banner
kickolduser: true
telnet-brk-on-sync: true
connector: serialdev,
/dev/ttyUSB1,
9600n81,local
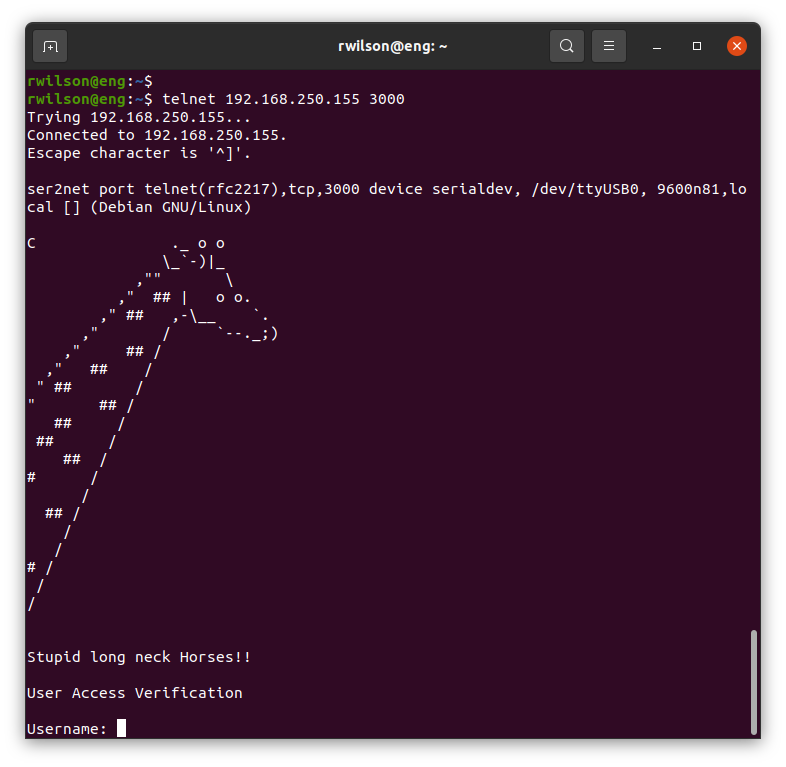
With that configured I can telnet to the Pi Console Server IP on ports 3000-3003 from the local network:

The next step is gaining remote access. Part 2 is here.