Side Quests
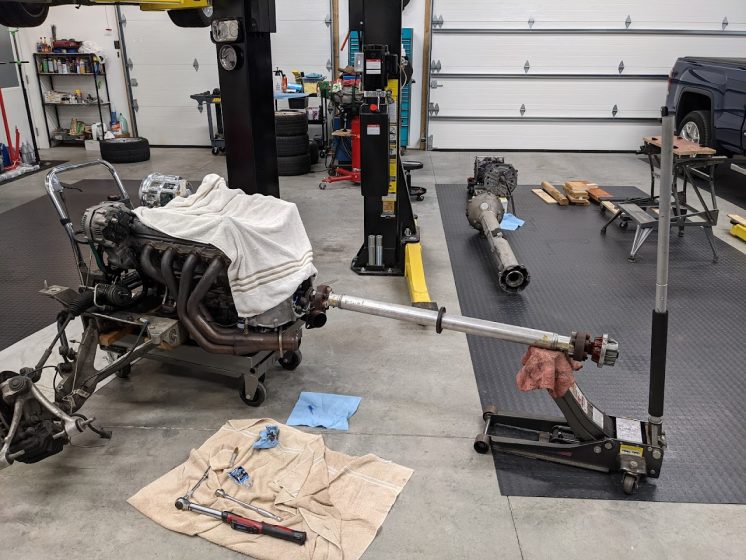
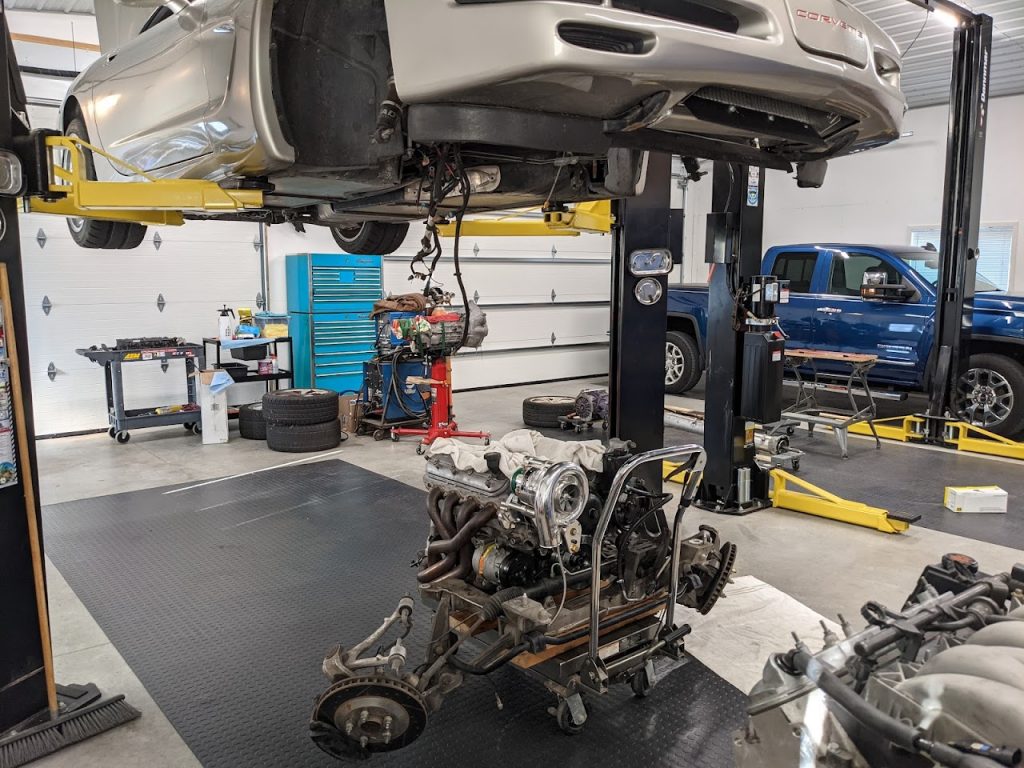
Before putting the engine and transmission back in the car I wanted to take care of couple things with a “while I’m in there” attitude:
- Convert accessory drive from 8 rib to 6 rib.
- Replace the torque tube “stub axle” (would be input shaft on conventional drivetrain)
I was running an 8 rib accessory drive due to an oversight I had in 2016 that forced my hand. While this is superior to a 6 rib setup due to a wider belt having more grip, it presented several clearance issues especially in a 1999 Corvette due to the extra large ABS unit. I had all the parts to accomplish this but the crank pulley so I bought a new Summit SFI approved 6 rib crank pulley. With that pressed on the crank snout I had to pin it to the crank. That involves using a drilling fixture to drill a hole for a dowel pin to sit half way in the crankshaft snout and half way in the crank pulley so that the crank pulley cannot spin on the crank should the load from the supercharger overcome the clamping power of the interference fit.
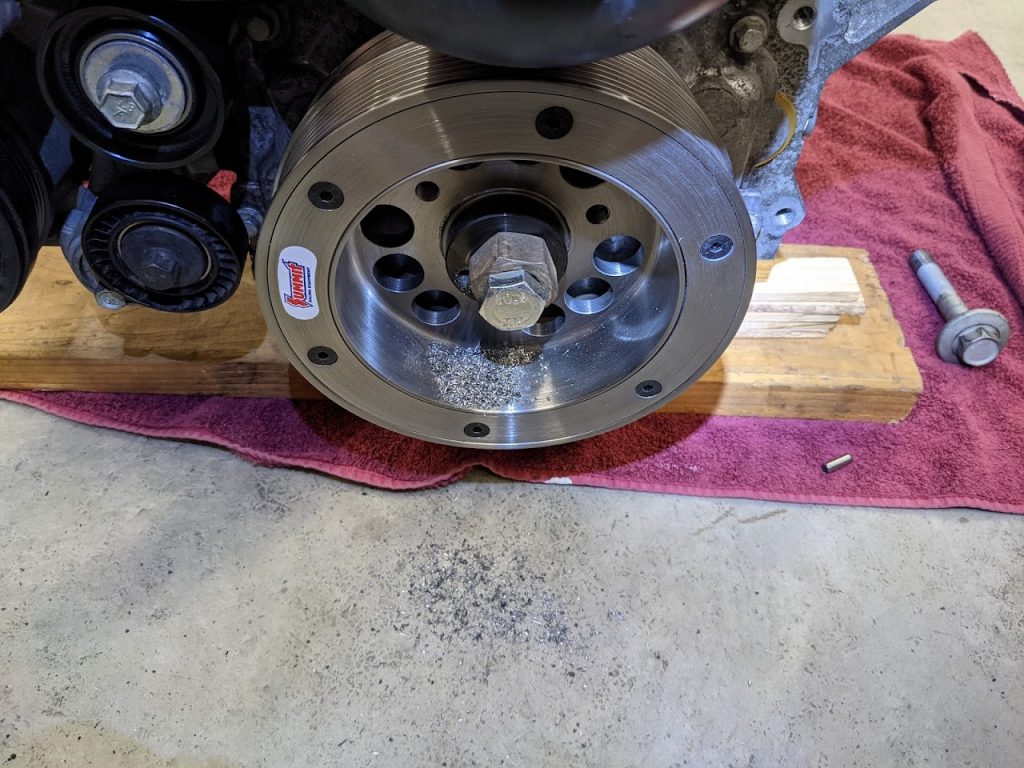
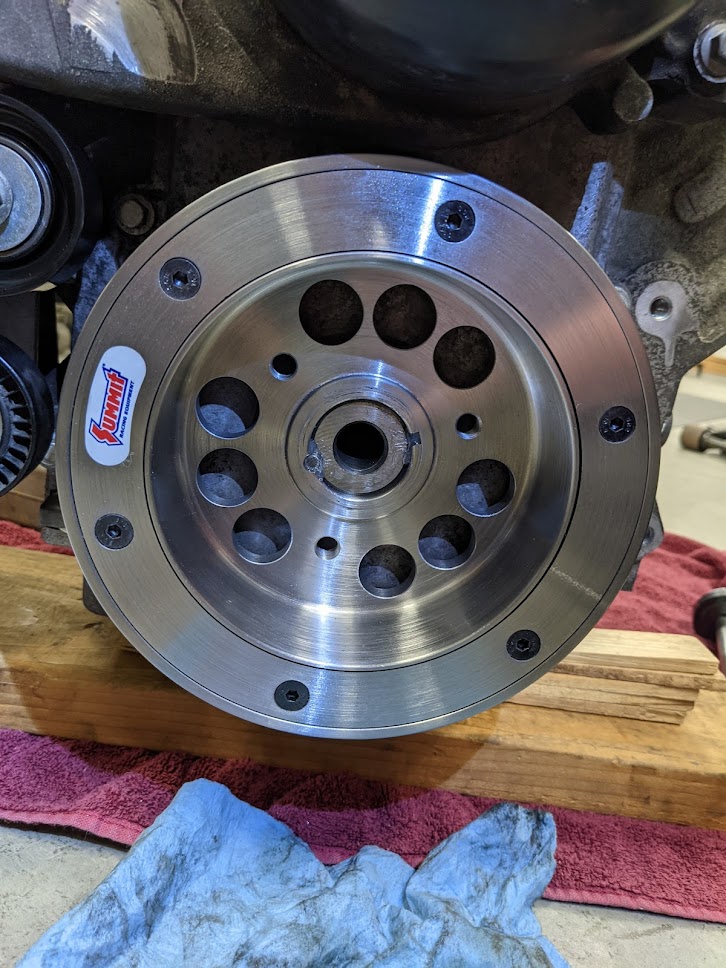
All that remained was swapping out the aftermarket 8 rib power steering, alternator and idler pullies for stock 6 rib pullies.
I installed the engine back in the subframe which gave me access to swap out the pilot bearing and install the flywheel and clutch.
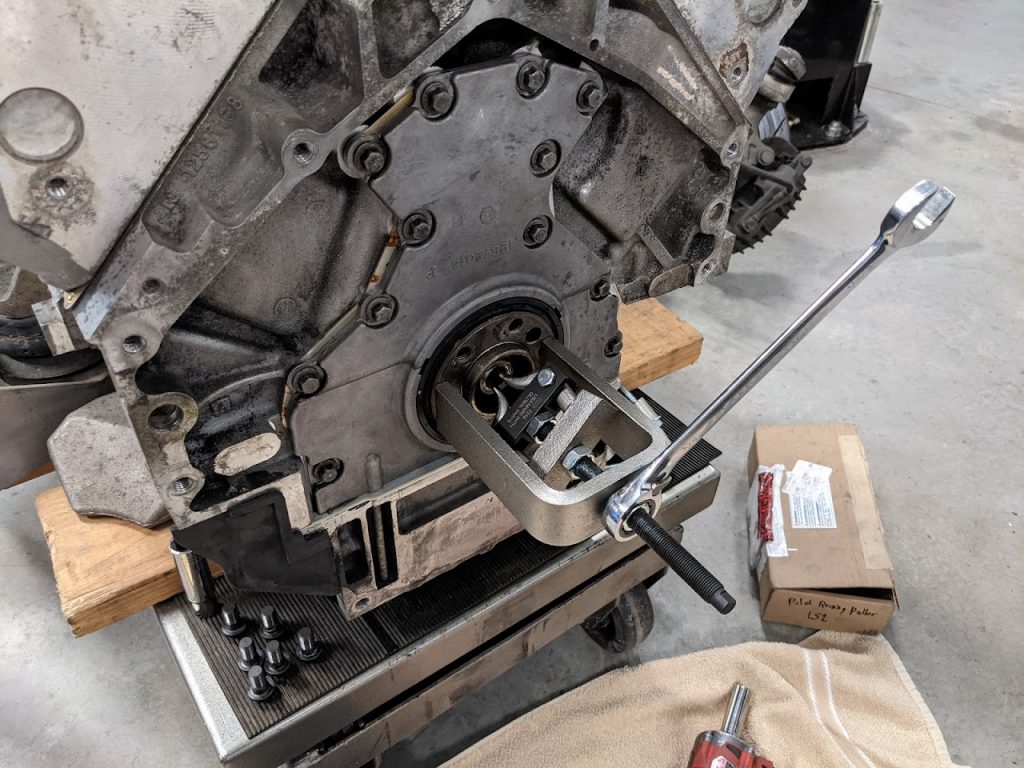
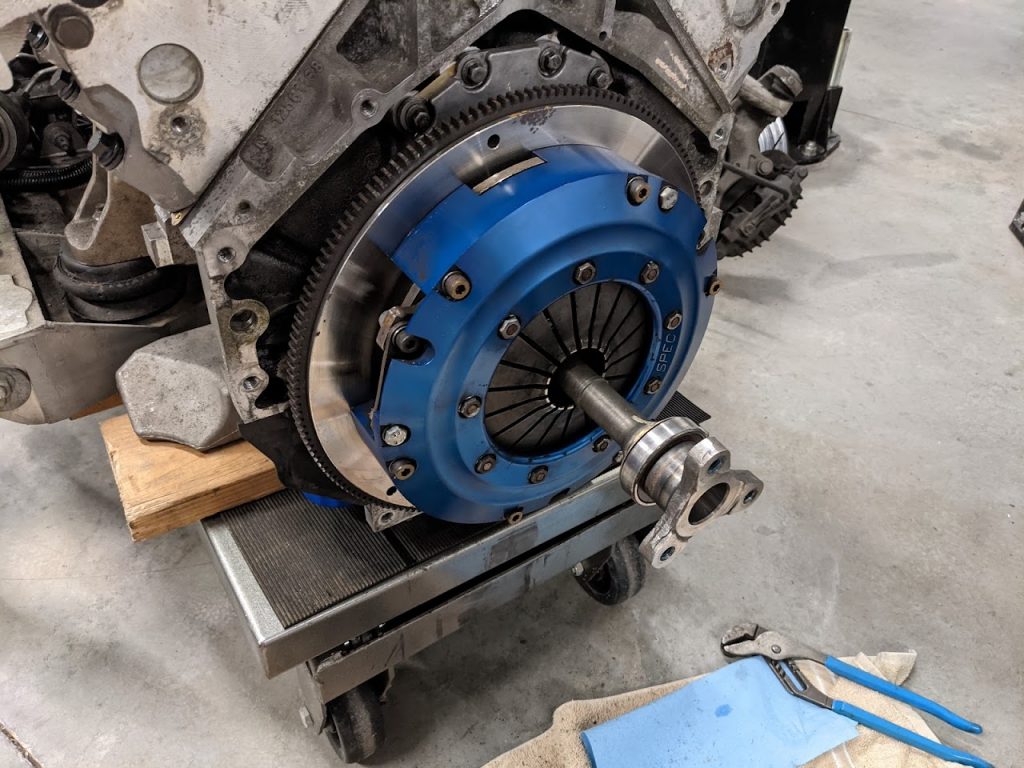
With item number 1 out of the way we move onto number 2.
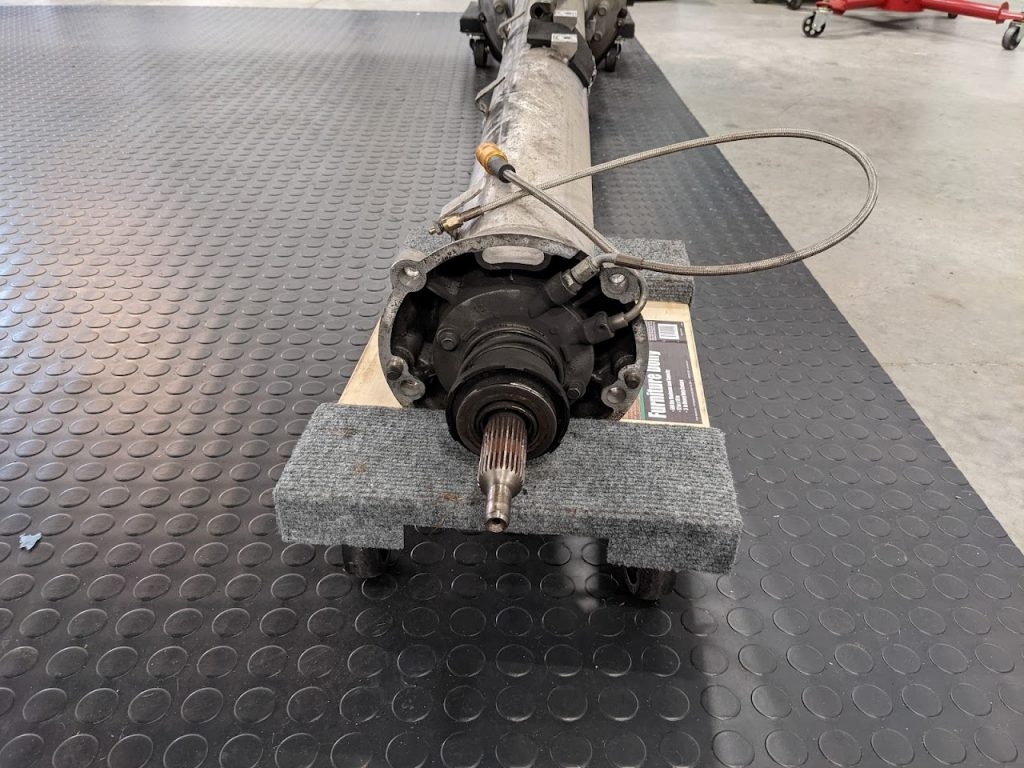
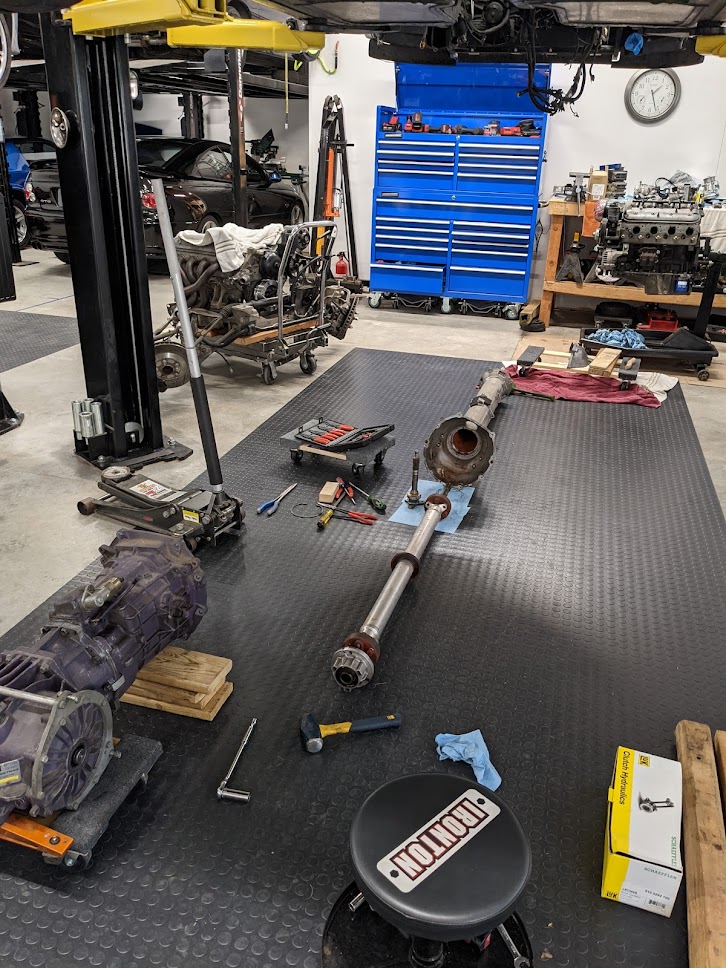
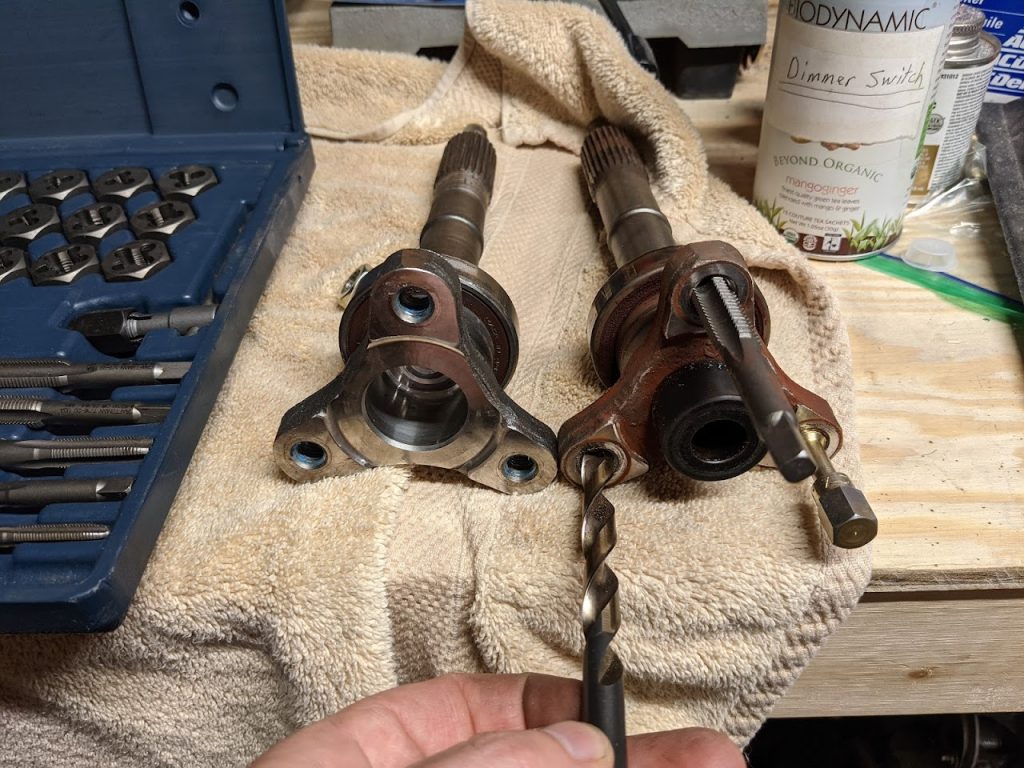
My original plan was to use the “10mm stub axle” that I had salvaged from the FRC’s original torque tube. I would need to drill out the holes and tap for the 12mm bolts. My retired machinist neighbor talked me out of attempting to do it myself and my calls and messages to a local machine shop went unanswered so I just ordered a replacement. Unfortunately the replacement did not come with a new bearing, snap ring or bearing retainer so I had to remove old ones and reuse them.
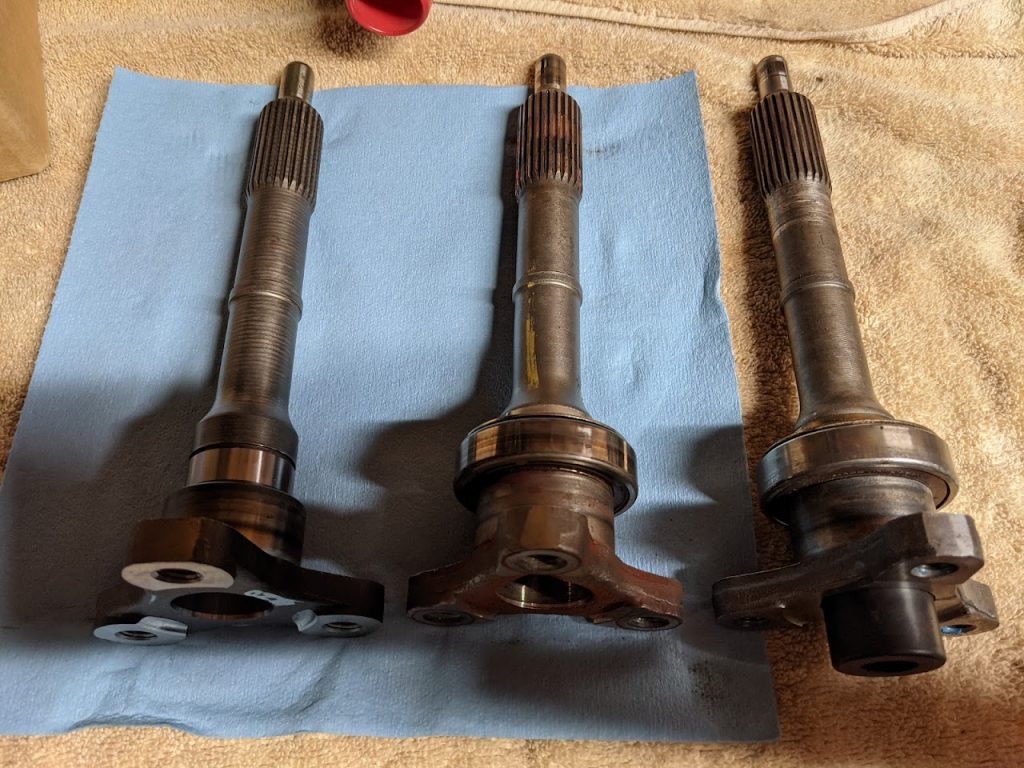
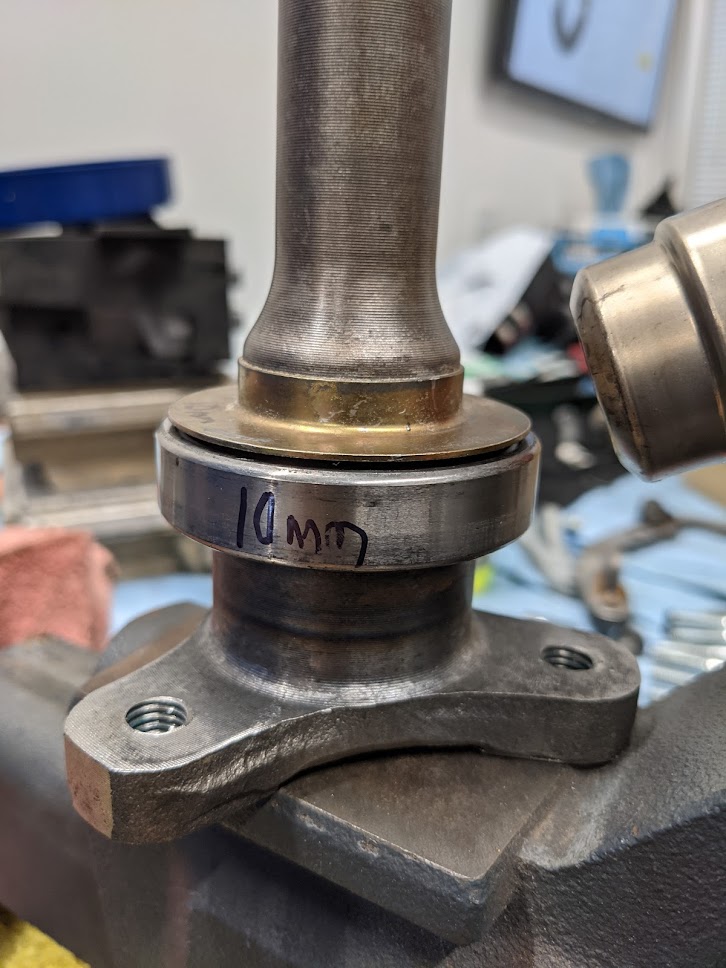
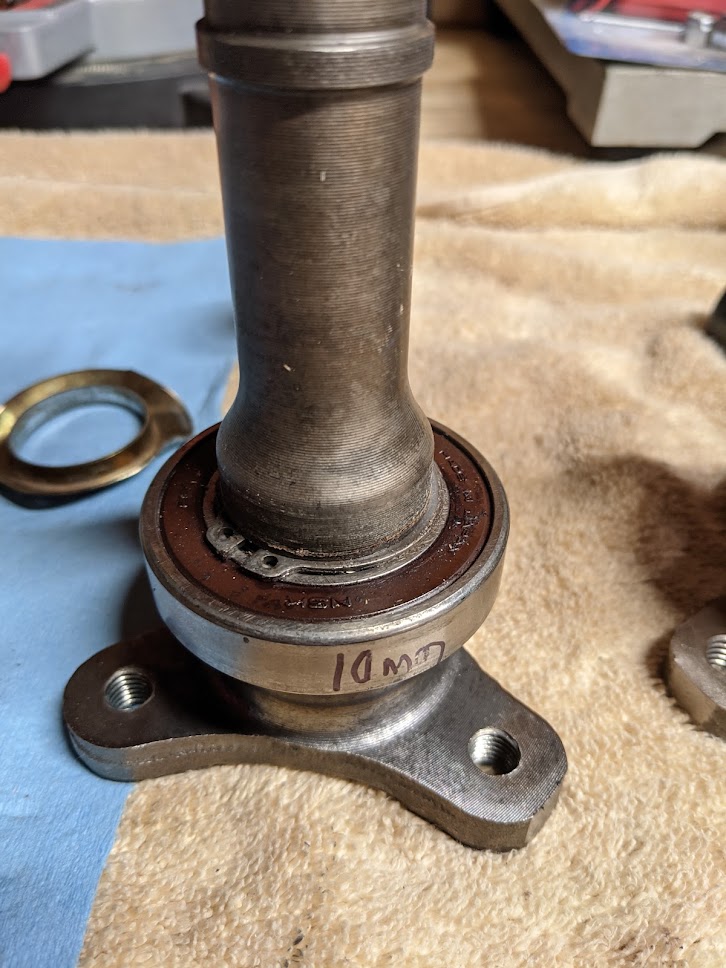
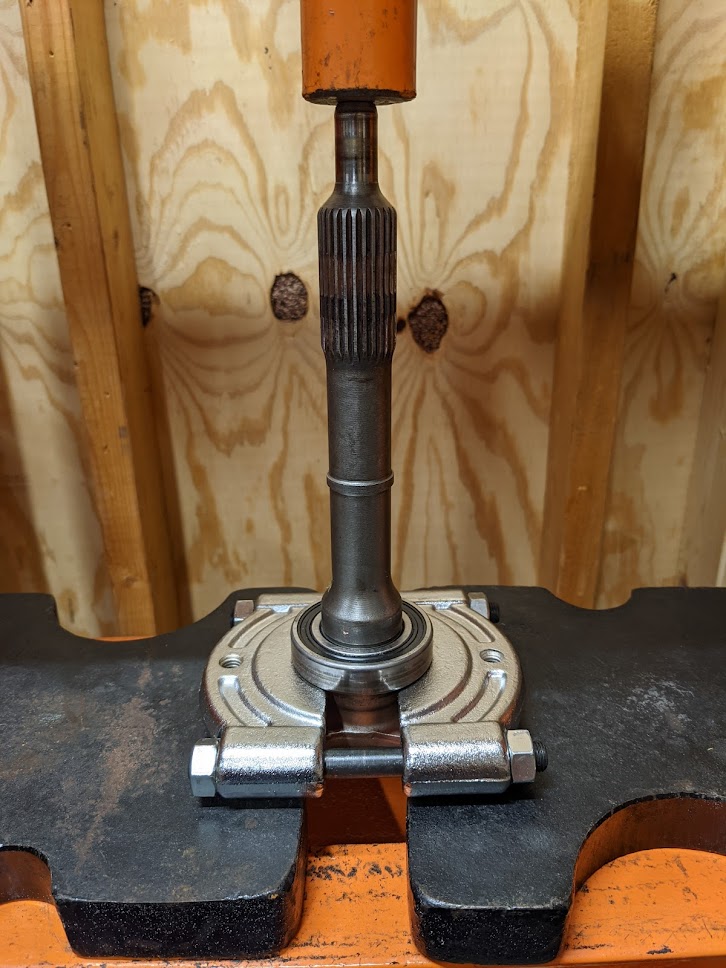
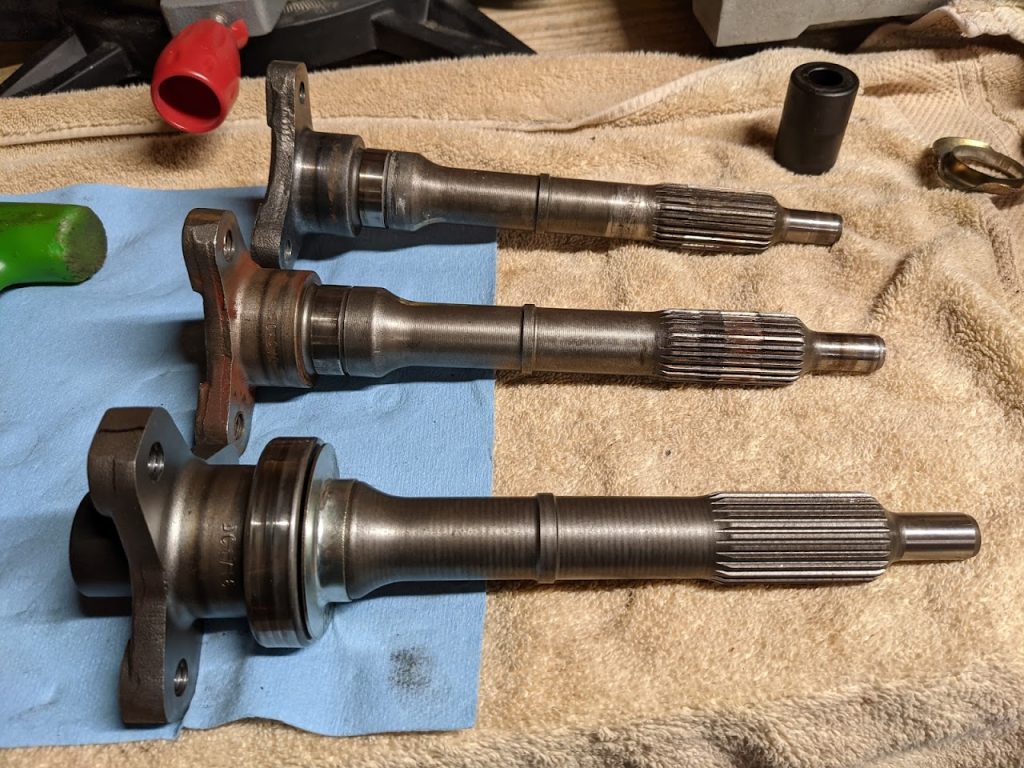
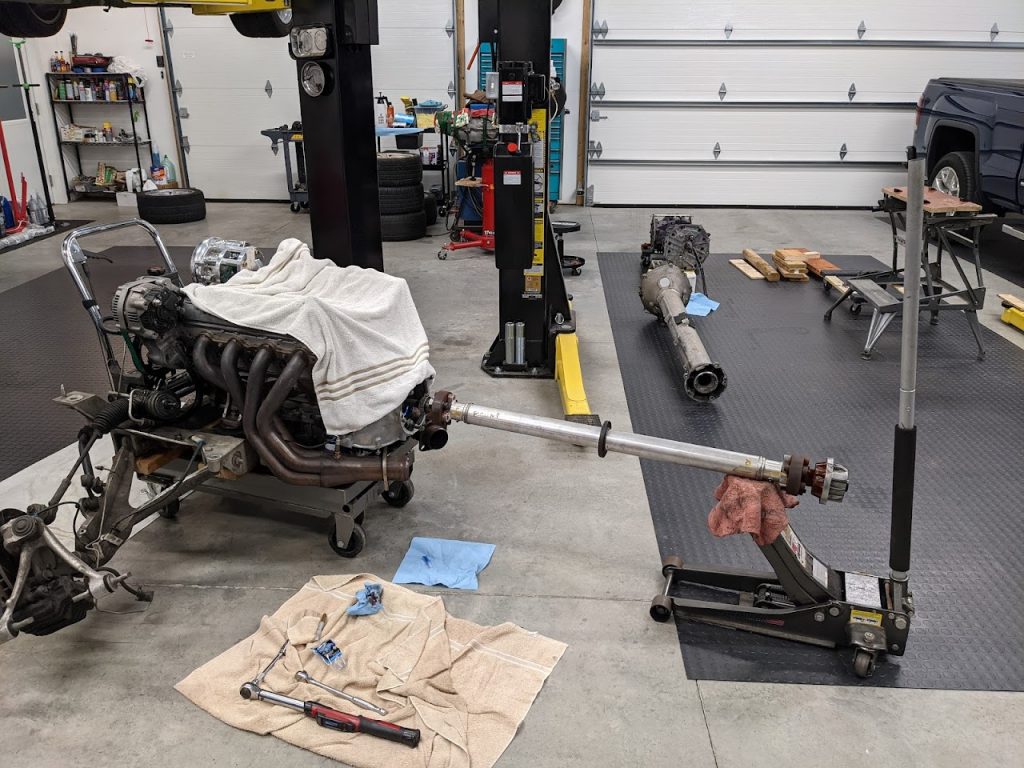
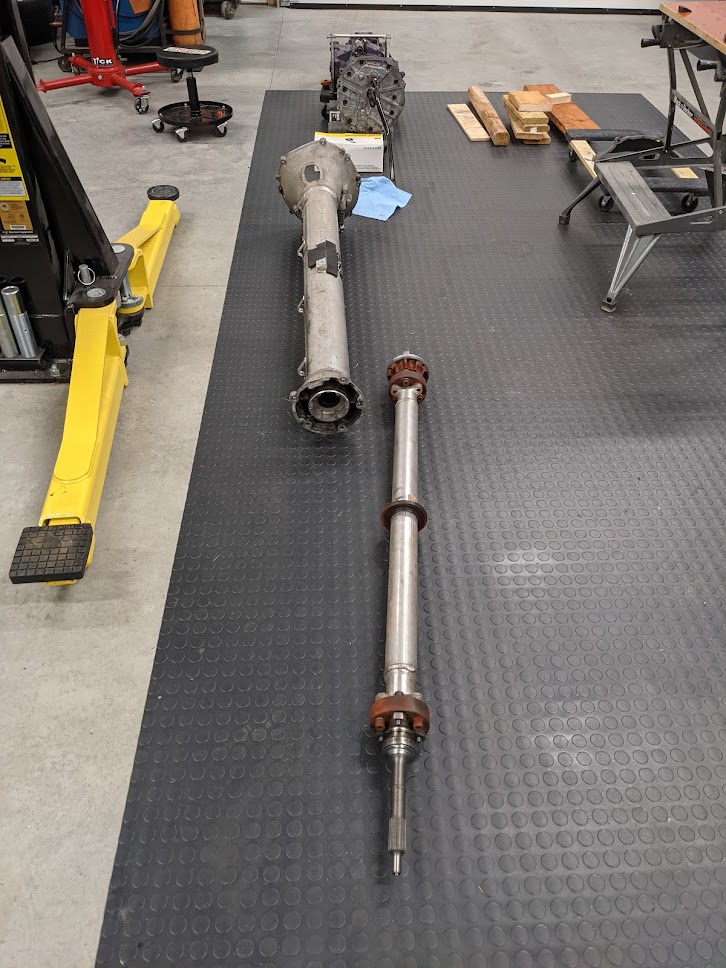
With that done Charlotte helped me install the prop shaft back in the torque tube and had the great idea to clock the gigantic snap ring so I could access it with my snap ring pliers through the shift rod hole instead of trying to use a needle nose pliers. Then we bolted the torque tube back to the transaxle.
